4.30.2008
Braden's First Camp Out
4.28.2008
Just For the Record....
Some Mormon women sing...
They do all kinds of different things
Church. She recently spoke to teen age girls
worldwide. She encouraged them to stand up to
peer pressure, strengthen their families and
serve others. (Click here for more.)
and-- although some may joke about wanting a sister-
wife (preferably one who is really fat & ugly, does
bathrooms and changes diapers)--none of them really
want to share their husband with anyone.
Sunday he spoke about honoring women,
especially mothers, and gave advice to husbands and children
about how to treat the women in their lives. (For the
whole story, click here.)
4.23.2008
Taking the Good with the BAAAADDD
You will have to bear with me today, I am having scrapbooking withdrawals. Last Saturday I bought the amazing Adobe Photoshop Elements 6 and I can't even use it!!! This darn computer I am on has exactly 94 MB of space left on it and I need 2 GB of space to download Adobe. My brand-spankin' new laptop was suppose to be here on Friday, but to my horror, I got this email today:
 At Dell, our customers are our top priority and we regret when we are unable to ship our products by the original estimate provided. Although we anticipated being able to ship your order sooner, we are experiencing an unexpected delay and have adjusted the estimated ship date to 5/03/08. We value your business and appreciate your patience.
4.19.2008
How To: Customize Blog Templates
Okay, I have been getting loads of emails and comments on how to customize your own blog template. I have been sending emails, and it has got a little time consuming so I am just going to write a little post about it for anyone who wants to know....
*10 Easy Steps to Your Own Customized Blog Template*
1. Set up an account with http://www.photobucket.com/
2. Go to any of the following digital scrapbook websites and download some digital paper, embellishments, or alphabets that you want to your desktop (a lot of downloads are Freebies, but some of the cutest ones are available for really great prices!!!)
http://www.shabbyprincess.com/
http://www.designerdigitals.com/
http://www.digitaldesignessentials.com/
http://www.digitalscrapbookplace.com/
http://www.scrapgirls.com/
http://www.sweetshoppedesigns.com/
http://www.twopeasinabucket.com/
http://www.littledreamerdesigns.com/
3. Create a folder on your computer called Scrapbook or Blog Designs or something like that to put your downloads in after you have extracted them.
How to Extract the files:
1. Right-click on the downloaded item on your desktop and select Extract files…
2. Then select Extract and replace files and select the folder you just created
3. The images should show up in that folder
4. How to upload graphics to Photobucket:
1. Make sure you are on the tab on the Photobucket website that says “images from my pc” (it should have some Browse… buttons below it)
2. Where it says max image size: 1024 x 768 (options) click on the word options
3. Select whatever size you want to upload your image in. (Hint: if you are wanting to upload the paper that covers the middle of your page you
will want to go with the highest size like the 17" screen and if you are wanting to upload an image to go on the sides of your blog you’ll probably
want to try the thumbnail or website, email size. If it ends up not showing up in the scale you want on your blog you can go back and re-upload it in a different size.)
4. So after you have chosen the size you want to upload in click on the Save button and wait for it to return to the Browse screen.
5. Click on the Browse… button and find the image from your computer then click on the Upload button
6. Wait for it to finish uploading and to return to the Browse screen
How to add the images/graphics for the sides of your blog:
***this image will cover your entire page until you get further in the instructions where you will add the image for behind your posts!
5. Log into your Blogger account, for the new Blogger, this is how I do mine.
1. When you are in your Dashboard click on Layout
2. Click on the Template tab
3. Click on the Pick New Template section
4. Choose one of the Minima blog templates
5. Click on the Save Template button
6. Click on the Edit HTML section
7. Hit the Ctrl and f key at the same time then enter the word background then hit the Find Next button. Look for something like this:
body {
background:$bgcolor;
margin:0;
color: $textcolor;
font:x-small Georgia Serif;
font-size/**/small;
font-size:/**/small;
text-align: center;
6. In-between background: $bgcolor; and margin:0 add a new line then copy and paste the following text:
background-image:url();background-repeat:repeat-xy;
***if you only want the image to show up on the left side of your screen then change the repeat-xy; to repeat-y;
7. Now go into your Photobucket account and decide what image you want to show up on your sides. Copy its Direct Link and then paste it
in-between the two ()'s so that it looks something like this:
body {
background:$bgcolor;
background-image:url(http://i233.photobucket.com/albums/ee288/kass_54/timeofourlives.jpg);background-repeat:repeat-xy);background-repeat:repeat-xy;
margin:0;
color: $textcolor;
font:x-small Georgia Serif;
font-size/**/small;
font-size:/**/small;
text-align: center;
Make sure you do not have any extra spaces that you should not have especially between the “url” and the “(“
8. How to add the graphic for the border around your header/ blog title:
Scroll down to this part:
/* Header
------------------------------------------------------
*/
#header-wrapper {
width:660px;
margin:0 auto 10px;
border:1px solid $bordercolor;
}
Decide what image you want to show up in the small border around your name in the header/blog title.
Now the easiest thing to do here is to copy all of the background-image:url part from what you just did and paste it in a line between #header-wrapper { and width: 660px; so that it looks like this:
#header-wrapper {
background-image:url(http://i233.photobucket.com/albums/ee288/kass_54/timeofourlives.jpg);background-repeat:repeat-xy);background-repeat:repeat-xy;
width:660px;
Now just copy the Direct Link from your image in Photobucket and paste it over your Direct Link from your side image, unless you want them to be the same then just leave it.
How to add the image for inside the header box:
This will work best on your blog if you choose a solid colored paper. If you choose a busy paper it will be VERY hard to see the text in your header.
In the part that looks like this:
#header {
margin: 5px;
border: 0px solid $bordercolor;
text-align: center;
color:$pagetitlecolor;
}
Copy and paste the background-image:url part again and paste it on a new line after #header { so that it looks like this:
#header {
background-image:url(http://i233.photobucket.com/albums/ee288/kass_54/timeofourlives.jpg);background-repeat:repeat-xy);background-repeat:repeat-xy;
margin: 5px;
border: 1px solid $bordercolor;
text-align: center;
color:$pagetitlecolor;
}
Now just copy the Direct Link from your image in Photobucket and paste it over your other Direct Link.
9. Other changes I made:
Change margin:5px; to margin:40px; (or to whatever size you want your header to be. Type in a number then click on the Preview button at the bottom of your html to see how it looks)
How to add the paper/image in the middle which will show up behind your posts and sidebar items:
You MUST do this. Otherwise your side paper/graphics will show up all over your blog. This will work best on your blog if you choose a solid colored paper.
If you just want it to be black or white (or any other color) you still have to upload an image of that color to Photobucket and insert it's code.
Scroll down to this part:
/* Outer-Wrapper
---------------------------------------------------- */
#outer-wrapper
width: 660px;
margin: 0 auto;
padding:10px;
text-align: left;
font: $bodyfont;
}
Again, copy and paste the background-image:url part and paste it on a new line between the #outer-wrapper and the width: 660px; so that it looks like this:
#outer-wrapper
background-image:url(http://i233.photobucket.com/albums/ee288/kass_54/timeofourlives.jpg);background-repeat:repeat-xy);background-repeat:repeat-xy;
width: 660px;
margin: 0 auto;
padding:10px;
text-align: left;
font: $bodyfont;
}
Now copy the Direct link of the image you want from Photobucket into the correct spot, unless you are using the same paper from your header, then just leave it but do make the following changes:
Change width:660px; to width:760px;
So it will look like this:
#outer-wrapper {
background-image:url(http://i233.photobucket.com/albums/ee288/kass_54/timeofourlives.jpg);background-repeat:repeat-xy);background-repeat:repeat-xy;
width: 760px;
margin: 0 auto;
padding:10px;
text-align: left;
font: $bodyfont;
}
10. Now scroll down to this area:(What you are doing in this step is changing the line under your posts to solid. If you want them to stay dotted then skip this step)
.post {
margin:.5em 0 1.5em;
border-bottom:1px dotted $bordercolor;
padding-bottom:1.5em;
}
Change border-bottom: 1px dotted $bordercolor; to border-bottom:1px solid $bordercolor;
Scroll down to this part:(What you are doing in this step is changing the border size around the pictures in your posts, making them thicker or thinner to your liking)
.post img {
padding:4px;
border:1px solid $bordercolor;
}
Change padding:4px; to padding:8px; (or whatever number you think looks the best- click on the Preview button to see how it will look)
Change border:1px; to border:4px; (or whatever number you think looks the best- click on the Preview button to see how it will look)
Scroll down to this part:(What you are doing in this step is changing the line under each of your sidebar links from dotted to solid, skip this step if you want them to remain dotted)
.sidebar .widget, .main .widget {
border-bottom:1px dotted $bordercolor;
margin:0 0 1.5em;
padding:0 0 1.5em;
}
Change dotted to solid again
OKAY!!!! Now click on the Preview button, which will show you how your blog looks so far and if you like it. If you are feeling like some of the images are not centered then you can go back and mess around with the width and margin numbers. This may not fix the problem completely, and remember that every computer screen is different so even though it may look fine on your personal computer it might not look the same on another screen.
Click on the Save Template button when you have what you want. Now click on the Fonts and Colors section to change around the colors and fonts in your blog to whatever you’d like. When you’re done click on the Save Changes button and then click on View Blog at the top just to the right of the Template tab. Hopefully everything turned out like you wanted it to.
I know this all sounds a little confusing, but you will get the hang of it...If you still have questions feel free to comment and I'll be glad to help you out! Have Fun!!!!
~Kassie
4.12.2008
GREAT DAY!!!
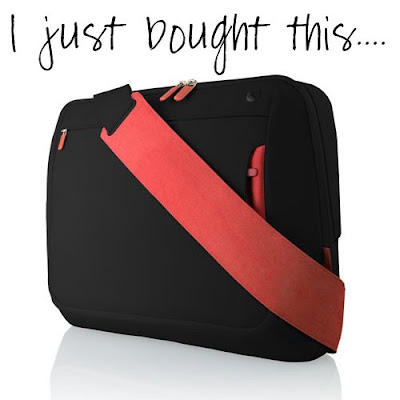
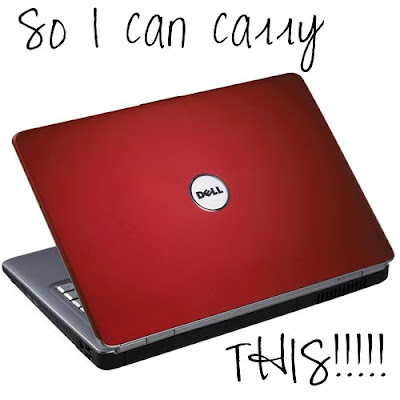 I can't even express my excitement in words! I have a permanent smile plastered on my face:) I have wanted this since the day I layed eyes on it.... Let me just give you a glimpse of what a difference this will make in my life:
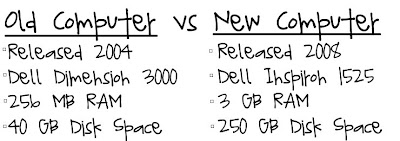 If you don't know much about computers, you will just have to trust me. This is going to make a major difference. I am just a little bitter though because I have to wait 2 whole weeks for them to build and ship it. Ahhhh, I have no patience..... As soon as I get it I am also going to be getting this:
 I have been using a free program called GIMP to do all of my digital scrapbooking. It has been great, but it doesn't do half the stuff Adobe can do!! I am pumped, it is so incredible! One last thing I wanted to add; I am looking to buy a wireless router. There is such a huge selection and price range out there and I have no clue what I am looking for. I have cable internet and just want to be able to use the internet on my laptop. Any advise on what to buy??? THANKS:)
4.09.2008
Braden's New Word
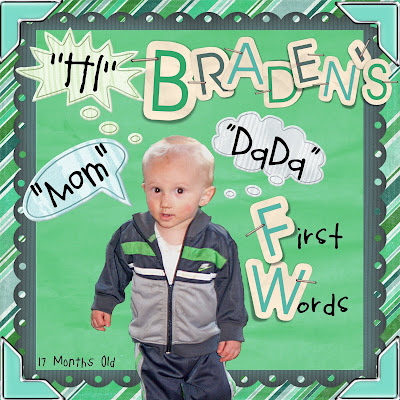 Braden has been saying "Mom" and "Dada" for awhile now, but has added a new word to his vocabulary. He just started saying "HI". It is the cutest thing...Whenever I go get him in his crib the first thing he does is say "Hieeeeee!!!". What a proud moment:) It is so funny how the littlest things kids do can make your heart want to melt. He is such a sweet boy and I love him to pieces!!
4.05.2008
Spaghetti Night
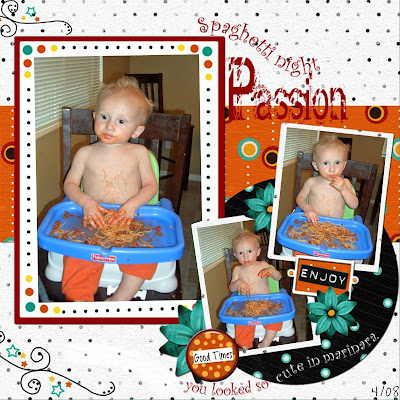 Last night Braden enjoyed his first plate of spaghetti! Since he hasn't been feeling great, I didn't think he would touch it and was so surprised when he just dove in. He loved it!! I am so happy I found something new he will eat. He used to be the best eater, but he has had the flu for over a month now and the only thing he really likes is yogurt or raisins. It is so hard, especially since he hasn't gained any weight since his 1st birthday!! It breaks my heart, he is so skinny. Hopefully he gets over this soon, but for now, spaghetti it is:)
4.03.2008
Backyard Beach Boy
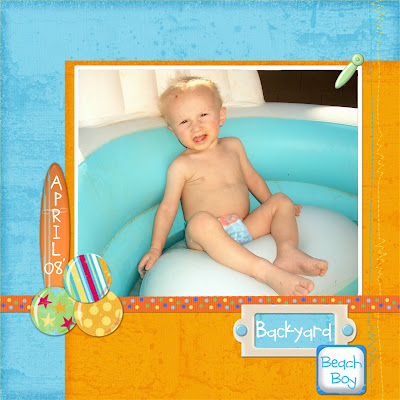 Last summer I bought this little inflatable pool for the backyard and yesterday Joy and Landon came over for a pool party!! It was fun, but still a little bit chilly:)
4.01.2008
Grandpa Rick
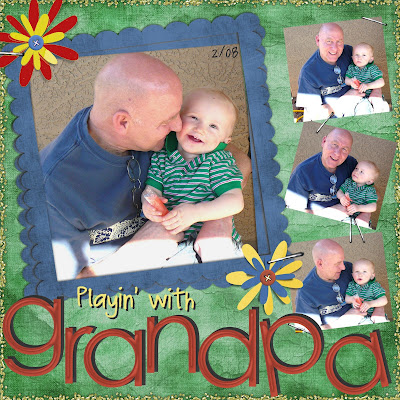
We all went to the desert for a family party. The guys
 The fam
